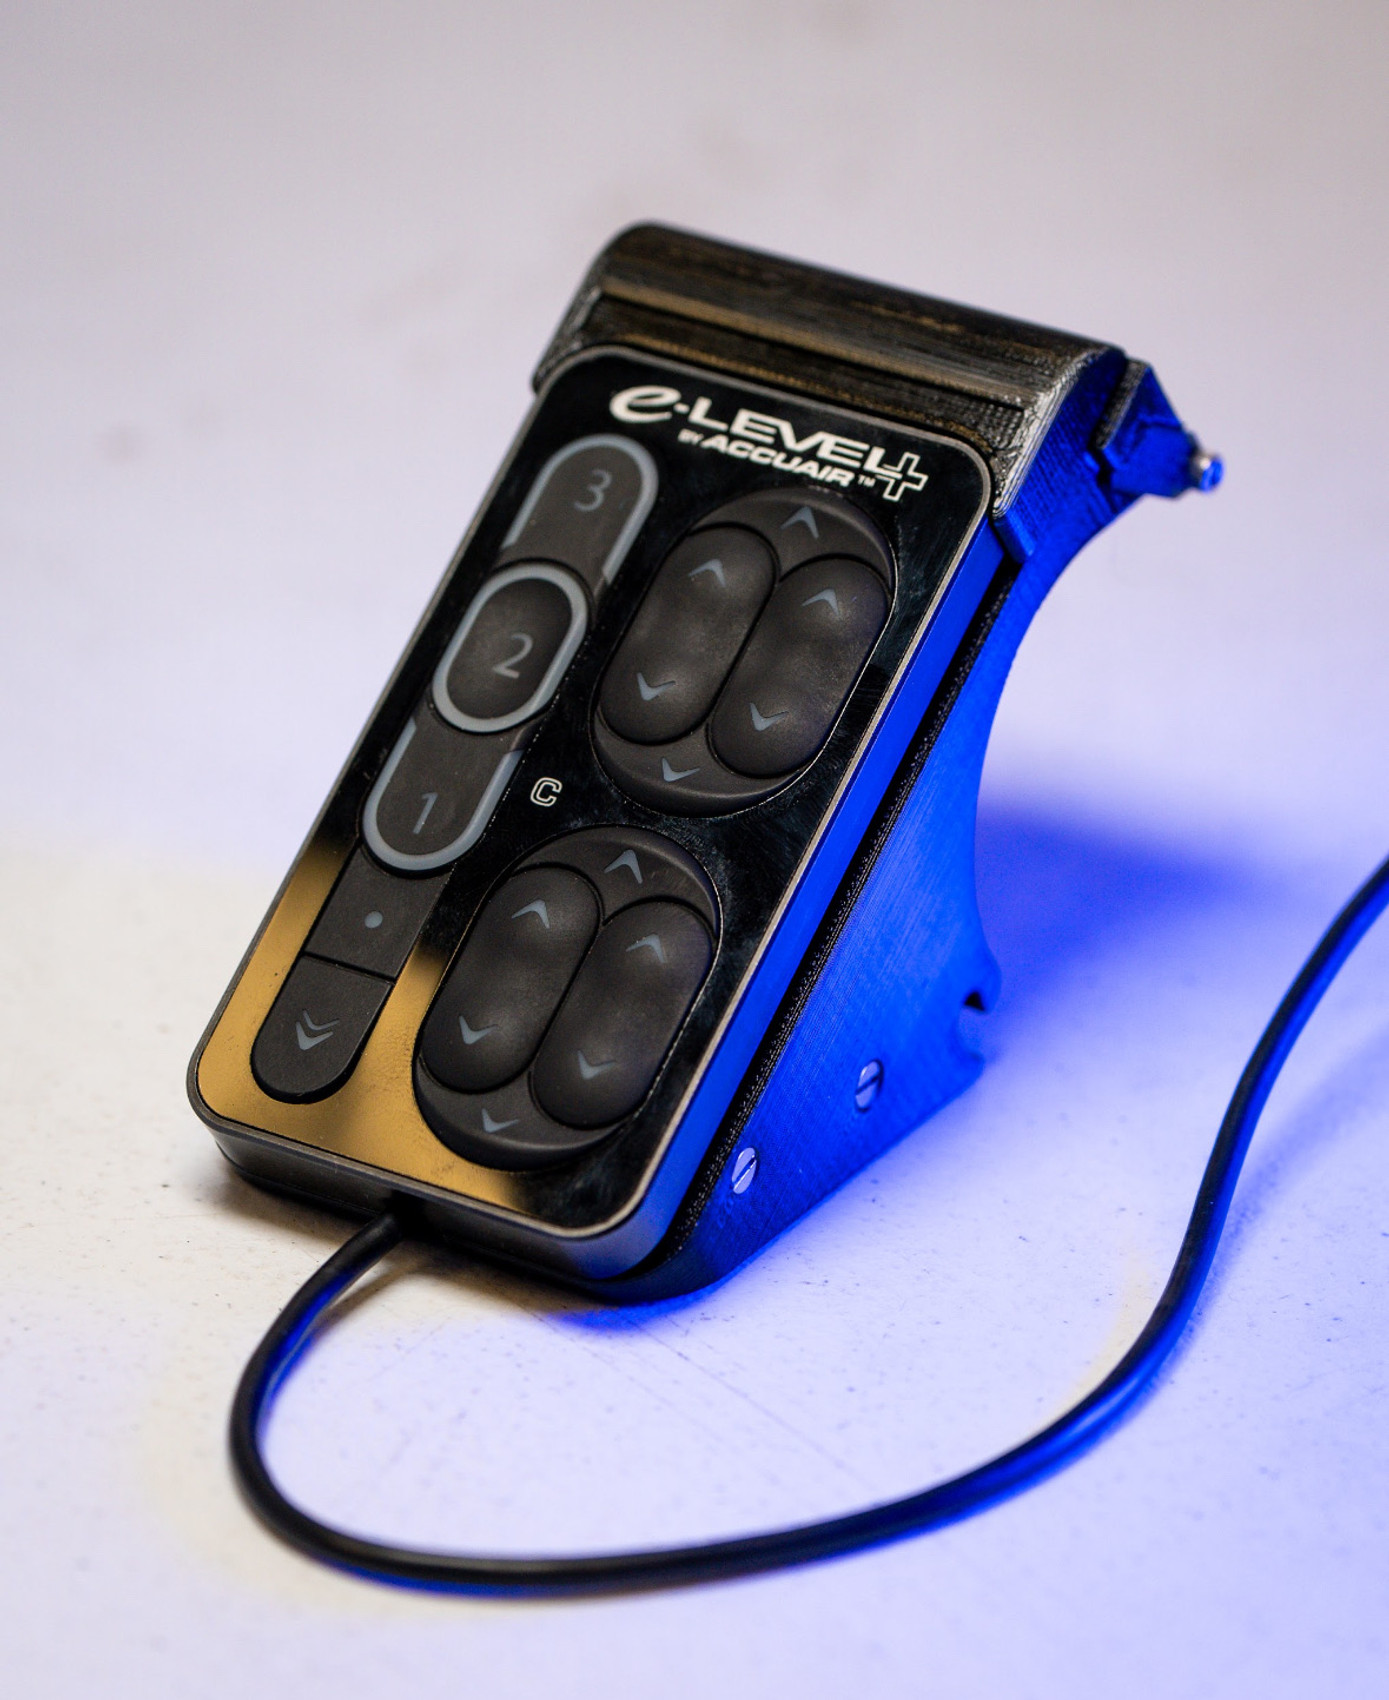
If you were one of the people who got super excited about the Accuair ENDO CVT, you weren't alone. We sold a ton of them here at the shop, and there was a big reason why. Your tank, valves and compressor all in one compact package? Hell yeah, we want that. So we sold them. Then they broke. Then Accuair went out of business just to be bought by a new company with a longer track record. Basically, everything you buy from Accuair today is good to go. But the old stuff? It's no longer covered under warranty, and if your CVT has bitten the bullet, you may not know what to do with it.
Fortunately, there are options, including turning your CVT to a VT.
What's an ENDO VT?
The Accuair ENDO VT is a traditional tank that contains the valves inside. Basically, it's a CVT that doesn't contain the compressor anymore. They're still super popular, and reliable, too. It's a product we install here at the shop all the time, so you know it's good stuff.
Let's convert your ENDO tank.
Now if you want to convert your CVT to a VT it's not that big of a deal. It'll take a little bit of time to do and you'll need a few tools, but it's a pretty straightforward process. If you want to see a whole video on the process, just check this out:
You'll need one of our Accuair ENDO CVT to VT conversion kits, but once you've got that in hand, it's a pretty straightforward process.
- With the tank outside the vehicle, remove the end caps with the appropriate Allen wrench. You can use compressed air to loosen the caps if necessary.
- Disconnect the valve wire harnesses on the inside of the end caps. Some are held in with snap rings, so use a small pry tool to get them out, or even a flathead screwdriver.
- Disconnect the air lines running to the compressor, as well as the bracket around the valves.
- Remove the o-ring from the compressor harness and place it on the valve harness so you can install it into the end cap using the snap ring.
- Remove your intake solenoid with an Allen wrench.
- Remove the reverse-thread port and install a plug.
- Repeat this process for the other end cap.
- There are bolts at the base of the tank that hold the compressor in place. Unbolt them and slide the compressor out of the tank.
- Remove the retaining Allen screws on the inside of the tank using a ratchet with a long extension.
- Use a hammer and an extension to pop the compressor out of the tank. You may need to use penetrating lube to get the job done.
- Replace all of the o-rings using the ones provided in the kit.
- Install pipe plugs in the compressor mounting holes using Loctite.
- Install new o-rings on the end cap mounting screws, too.
- Remount the tank into the vehicle
- Install the valve harness adapters onto the tank and you're good to go.


