So you’ve decided you want to lower your truck. Good call! Not only will you get improved handling, but your truck will also look a ton cooler. And really, isn’t that what we’re all going for? Thing is, there are a lot of choices to make along the way. What is the best lowering kit for your truck, and how do you figure it out? Let’s walk through the process together and get some answers.
Step 1: Determine what you want — performance or looks.
There are two different ways to lower your truck. The first just gets it low. The second does the same thing, but adds improved handling and better performance. The one you choose will determine the path you go down.
We sell lots of lowering kits. And although they all add some level of performance just due to the effects of lowering your truck’s center of gravity, a performance lowering kit will keep you flat in the curves. See, depending on how low you want to go, you might still use your stock coils and shocks. And if that’s the case, all you’ve really done is moved the truck down closer to the ground, not improved it’s handling. It will still ride and perform like stock, because it essentially is.
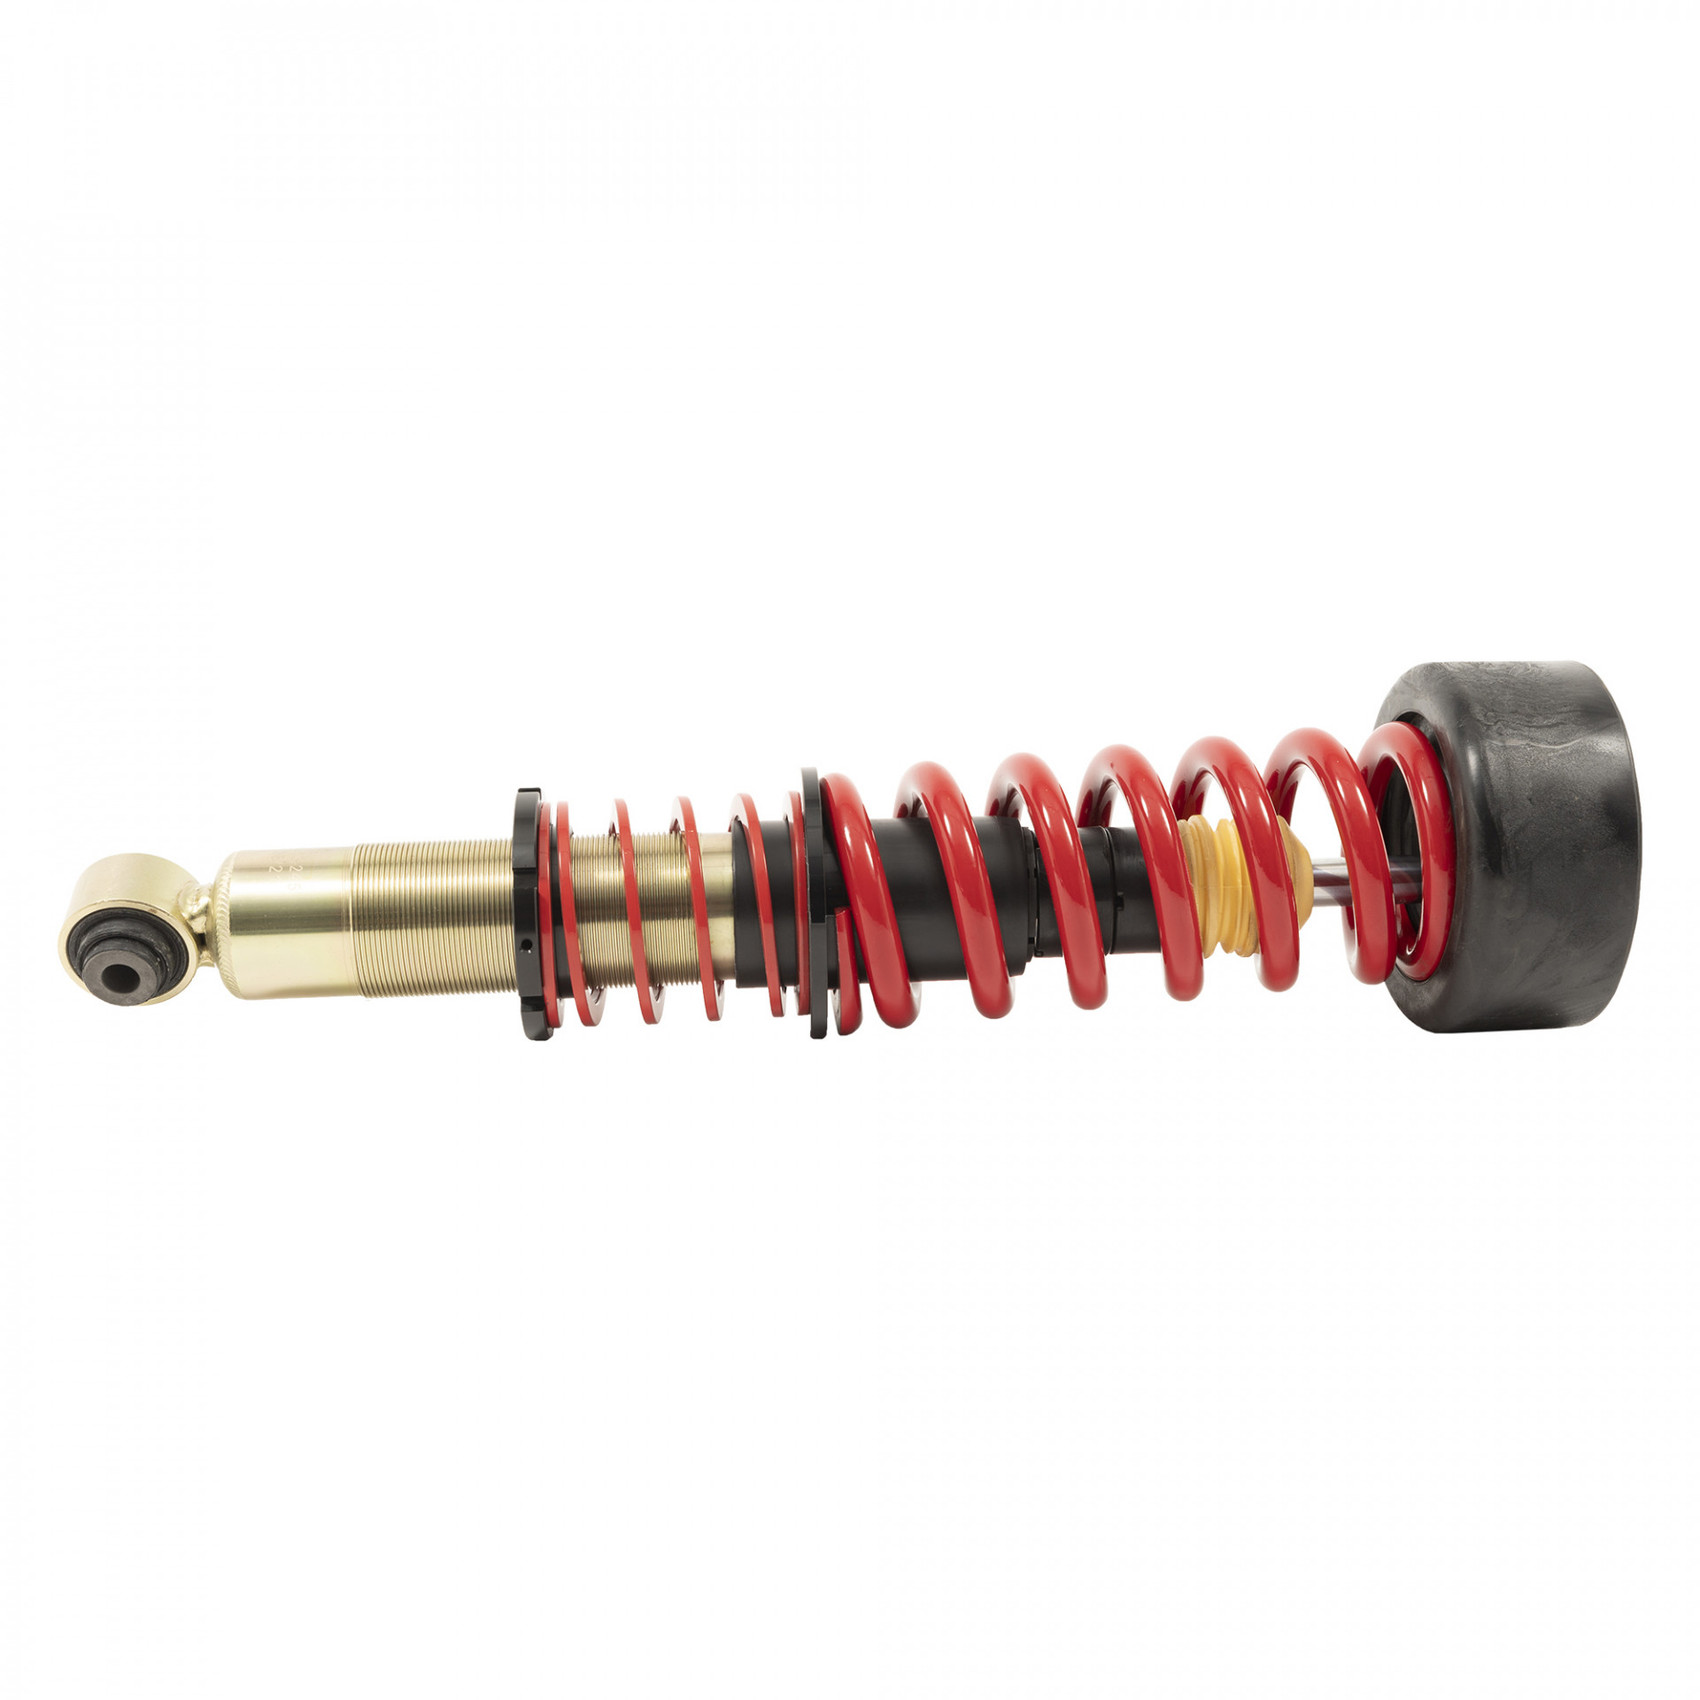
But a performance lowering kit stiffens up your shocks and coils, ensuring that when you do throw the truck into a corner it will stay relatively flat, and therefore, be pushed harder in the process.
Step 2: Figure out your wheels.
It’s OK not to have your wheel style totally figured out yet. But what you do want to know is what wheel and tire size you’re going to run — even if it’s just the stockers. That will make a huge not only in how the truck sits before it’s lowered, but after.
There’s nothing worse than lowering a truck, buying wheels and then finding out that they won’t tuck or fit with your look. Or it’s just underivable because of the combination of the two. By taking the time to first determine what kind of wheels you want to run, you’ll be ahead of the game.
Step 3: Factor in your budget.
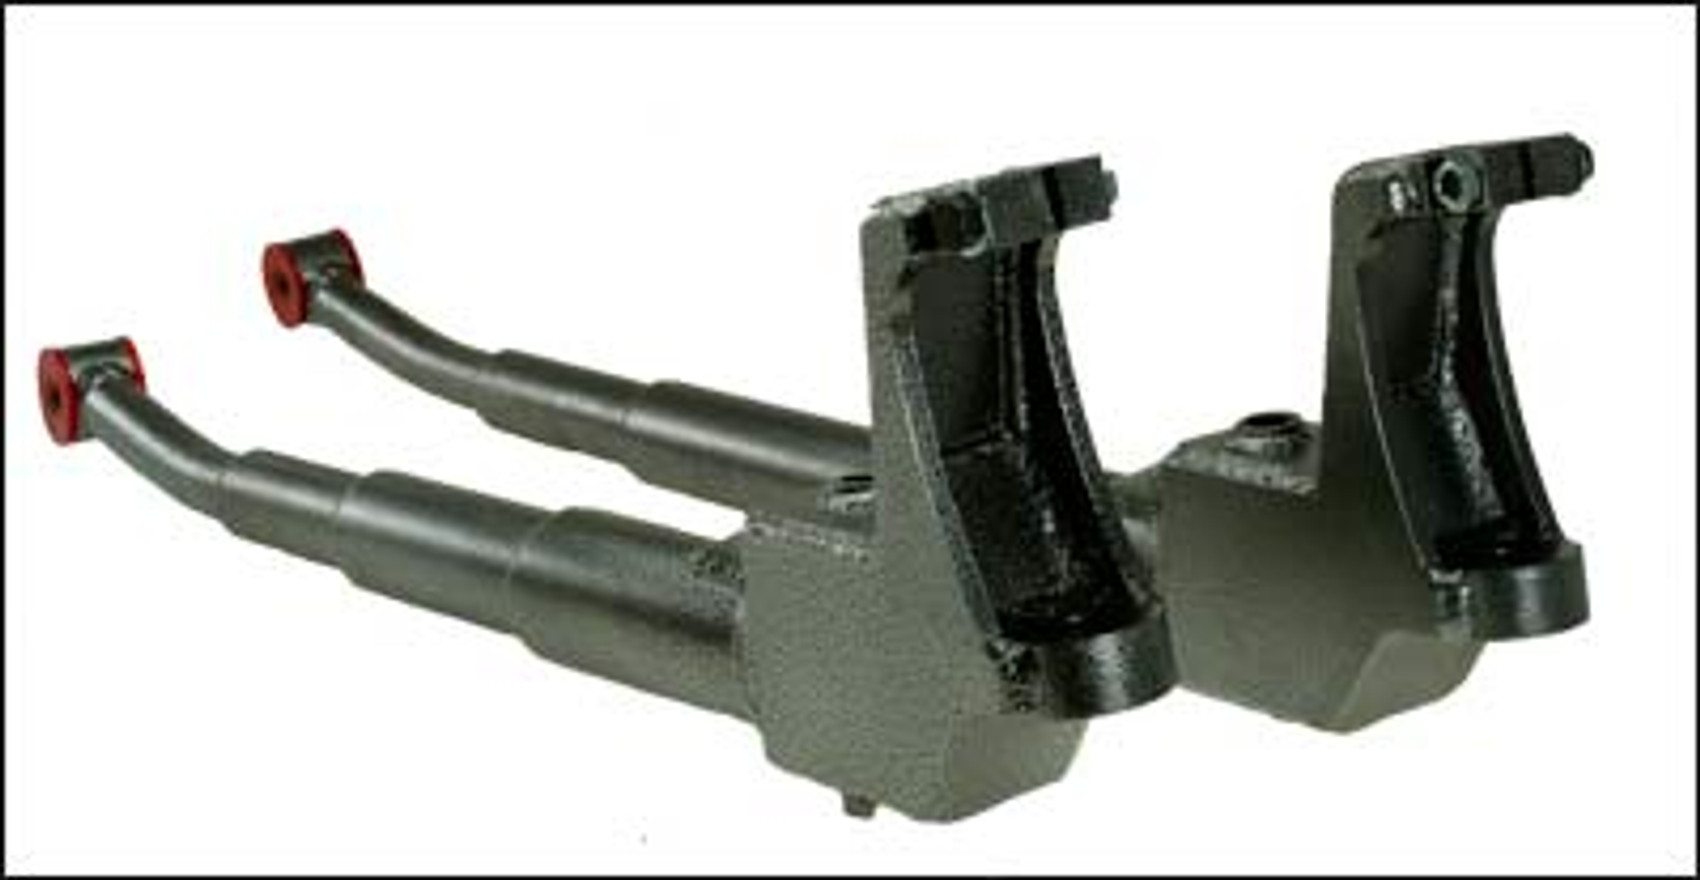
There are a lot of different manufacturers out there, and a lot of different options to choose from. But let’s suppose that you have a 1995 Chevrolet Silverado that you want to lower approximately 4 inches in the front, 6 in the rear, on your 20-inch wheels. You could do it with a 4/6 deluxe drop from McGaughys, and that’ll set you back around $636. Or if you want performance, a Ridetech coilover suspension system is a bit pricier at $5,725. Now if you’re looking for handling, that Ridetech kit is pretty perfect. But if you just want the truck to be low, then the McGaughy’s kit will work just fine. And there are all sorts of options in between the two, so your budget will definitely play a role.
Step 4: Consider what else you do with your truck.
Do you plan on towing anything? Well you can certainly still lower your truck, but you might want to consider helper bags in the back just to even out the load. Do you drive it every day? Think about your commute and consider whether a bigger drop is really practical considering your path to the office. And finally, is lowering your truck the first step towards bags and a body drop? If so, then buying coils is a little counter productive, unless you plan on driving it low for a while.
Step 5: Pick your ride height.
Once you know all the other stuff, it’s easy to determine how low you want to go. Most kits out there are 2/4 or 4/6 drops, but there are other sizes too, just depending on your vehicle and what kind of options are out there. But before you go and order the lowest drop you can find, take some measurements. Figure out how close that crossmember will be to the ground (with your new or current wheels and tires) and if the truck will be drivable or not.
Step 6: Pull the trigger.
With all that figured out, it’s time to pull the trigger. Pick out your lowering kit today and get going.


